
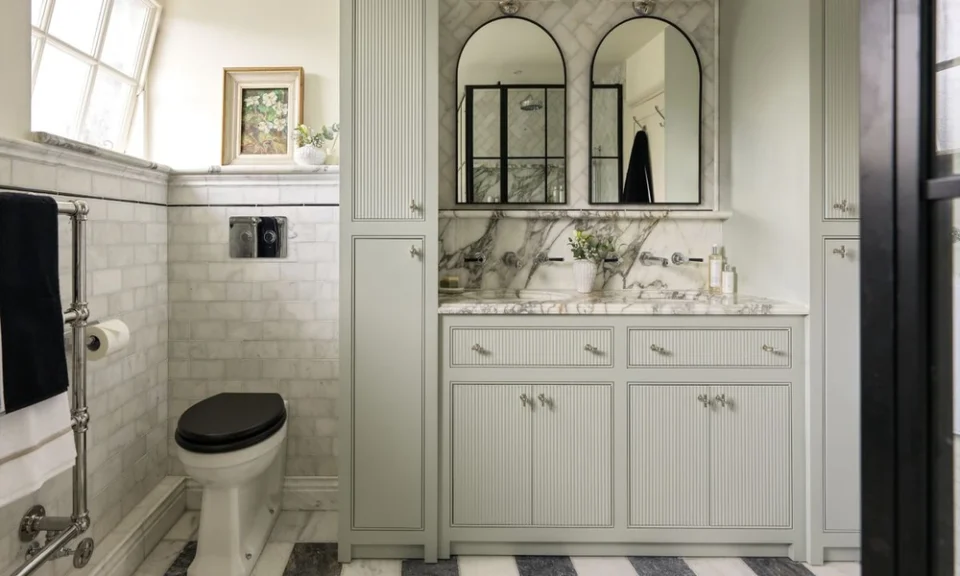
Walk into any showroom and you’ll see the same things: gleaming tile, sculpted vanities, and fixtures in a dozen finishes. What you won’t see is the part that determines whether that bathroom still looks good in 2046. It’s hidden behind the surface, in layers most homeowners never think about until something goes wrong.
A bathroom is the hardest-working, wettest room in the house. Steam, splashes, temperature swings, and daily use all push on it. The finish is what you notice, but the build underneath is what lasts. Here is the bathroom from the inside out.
Layer One: The Subfloor and Framing
Everything rests on the structure. If the subfloor is soft, uneven, or previously water-damaged, new tile will crack no matter how expensive it is.
What to ask:
- Will the subfloor be inspected once the old floor is removed?
- How are damaged sections handled and priced?
- Is the floor stiff enough for the tile you chose? Large-format tile and natural stone need a firmer base than many people expect.
Warning sign: Floors that flex near the toilet or tub often point to a hidden leak or rot.
Layer Two: The Plumbing Behind the Walls
A remodel is the cheapest moment to deal with old pipes, because the walls are already open. Corroded supply lines, aging shutoff valves, and outdated drain connections are far easier to replace now than after new tile goes up.
What to ask:
- What is the condition of the existing supply and drain lines?
- Are shutoff valves being replaced?
- If the layout is changing, how does that affect drain slope and venting?
Moving a toilet or shower drain is not just a design decision. Drain lines need correct slope and proper venting to work well, so layout changes can affect cost and scope.
Layer Three: Waterproofing, the Step That Matters Most
Tile and grout are water-resistant at best, not waterproof. The real protection comes from the waterproofing system behind them, whether that’s a sheet membrane, a liquid-applied membrane, or a pre-formed shower system.
Most catastrophic bathroom failures trace back to this layer. Water slips through tiny grout cracks, soaks the substrate, and rots the framing long before anything looks wrong on the surface.
What to ask:
- What waterproofing method will be used in the shower and around the tub?
- Will corners, seams, and the shower pan be treated specifically?
- Will the shower be flood-tested before tile goes on?
If a contractor can’t explain this layer clearly, treat that as a red flag.
Layer Four: Ventilation
A fan that’s too weak, too old, or vented into the attic instead of outdoors creates a quiet moisture problem. Humidity lingers, paint peels, mildew spreads, and wood trim swells.
What to look for:
- A fan sized for the room, with adequate airflow
- A duct that exhausts outdoors rather than into the attic
- A timer or humidity-sensing control so the fan runs long enough after showers
Ventilation is often the least glamorous line on a budget, but it protects every other investment in the room.
Layer Five: Electrical and Lighting
Water and electricity demand careful planning. Outlets near sinks and showers need ground-fault protection, and lighting should be placed where it actually helps.
Lighting tip: Overhead light alone creates shadows on the face. Add side lighting at the mirror, and consider a separate light inside the shower area.
Layer Six: The Visible Surface
Only now do tile, grout, vanity, and fixtures enter the picture. This is the layer people love to discuss, and it matters, but it performs best when everything beneath it is sound.
A few durability tips:
- Choose slip-resistant tile for floors and shower bases.
- Use fewer grout lines where possible, since grout is the most vulnerable part of a tiled surface.
- Select finishes you can clean easily, because maintenance habits affect longevity.
If you’re considering water-saving fixtures, the EPA’s WaterSense program explains how certified faucets, showerheads, and toilets cut water use without sacrificing performance, which can lower utility bills over time.
Choosing Who Does the Work
A bathroom involves several trades: demolition, plumbing, electrical, waterproofing, tile, and finish carpentry. When those trades work from separate plans, gaps appear, and gaps are where problems start. Many homeowners prefer working with a single accountable team. If you’re searching for bathroom services in Spartanburg, a company like bathroom services in Spartanburg can coordinate those steps under one plan so the work behind the walls gets the same attention as the finishes people see.
Before signing anything, ask for a written scope that names the materials, the waterproofing method, and the timeline, plus how unexpected findings, like hidden rot, will be handled.
A Quick Layer-by-Layer Checklist
| Layer | Key question |
|---|---|
| Subfloor and framing | Is it sound, flat, and stiff enough? |
| Plumbing | Are old lines and valves being addressed? |
| Waterproofing | What system is used, and is it tested? |
| Ventilation | Is the fan sized correctly and vented outdoors? |
| Electrical | Is protection and lighting planned properly? |
| Surface | Are the finishes durable and easy to maintain? |
Common Mistakes
- Spending the budget on finishes and shorting the hidden work. The surface is the easy part to upgrade later. The hidden layers are not.
- Skipping the ventilation upgrade.
- Assuming grout seals the shower. It doesn’t.
- Not planning for surprises. Set aside a contingency, since older homes often reveal hidden issues once walls are open.
The Bottom Line
A beautiful bathroom is built twice: once where no one sees it, and once where everyone does. Invest first in the layers behind the tile, meaning solid framing, sound plumbing, proper waterproofing, and reliable ventilation. Do that, and the finishes you chose will keep looking the way they did on installation day.
